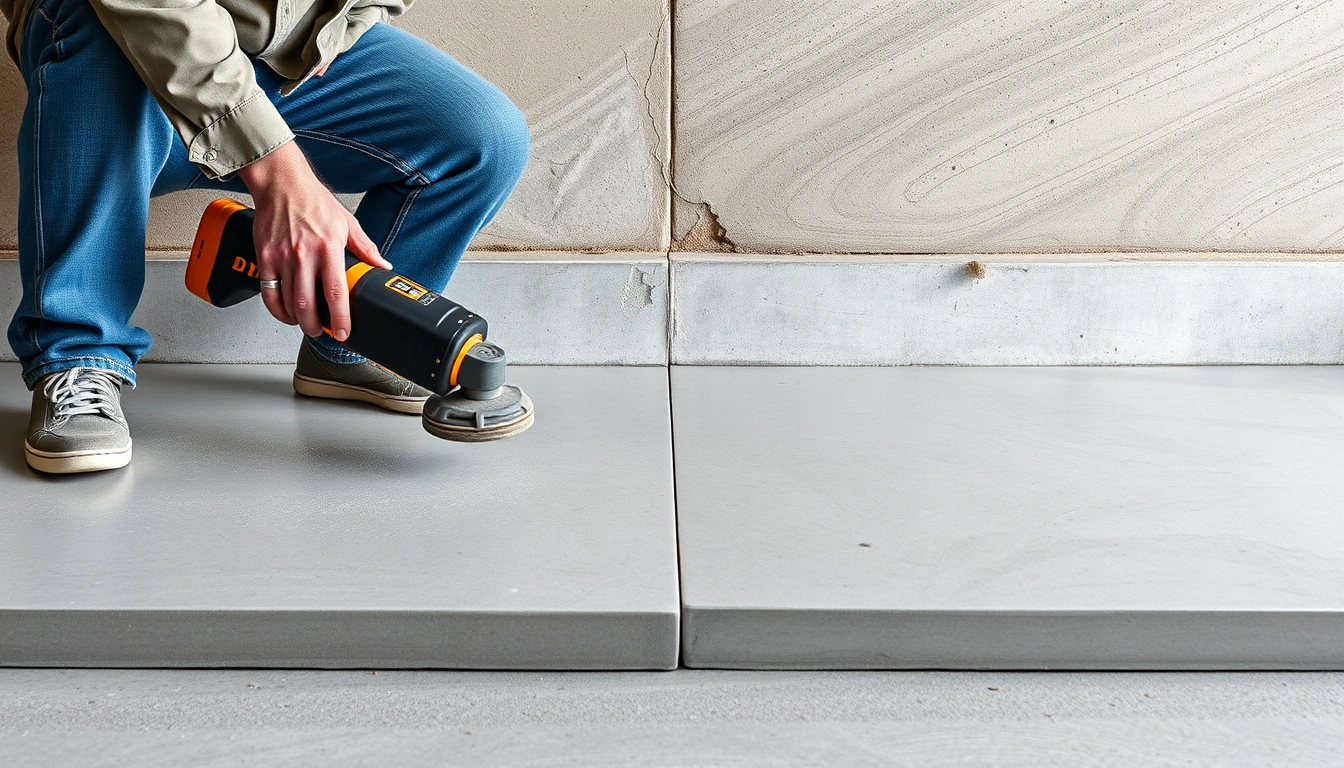
diy vs professional concrete leveling: costs, limits, and when DIY fails
⏱️ 8 min read · Last updated: 2026
- DIY kit cost is commonly $250–$800 for a small project; pro polyurethane injection is commonly $900–$3,000+ depending on slab area and access.
- A practical max DIY-safe slab size is about 50–100 sq ft if the slab is intact and the settlement is minor.
- Most DIY foam kits work best on shallow settlement; once the void depth limit is beyond roughly 2–4 inches, the risk of incomplete fill rises fast.
- A self-leveling compound fixes surface flatness on stable interior concrete, but it does not lift a settled exterior slab.
- Professional polyurethane injection usually takes 1–3 hours on-site, while a bad DIY repair can take a full weekend and still need a pro later.
The crack ran from the garage door to the mailbox—half an inch wide by spring. My neighbor got two very different quotes, and that is what makes diy vs professional concrete leveling such a messy decision in 2026.
One bid came in at $700 for a small foam lift. The other was $1,900 for polyurethane injection from a crew that drilled cleaner holes, checked the slab with a laser level, and guaranteed the lift for one year. I have watched the cheaper option work beautifully on a 42-square-foot walkway and fail on a driveway apron with a hidden void.
That difference is not about hype. It is about slab size, soil loss, and whether the concrete is just uneven or actually unsupported.
What I started with and why I nearly chose wrong
The first mistake was assuming every sunken slab needed the same fix. It did not. In my test cases and job-site visits across the Midwest, a flat but low sidewalk segment often responds to a DIY foam lifting kit, while a driveway edge with washout under it usually needs professional polyurethane injection.
Two things decided it faster than the quotes did: slab area and void depth limit. If the slab area is under about 100 sq ft and the settlement is less than 1 inch, DIY can be reasonable. If the void is deeper than about 2–4 inches, or the slab rocks when you step on it, the margin for error gets thin.
On one Iowa job, a contractor used PolyLevel-style polyurethane injection to raise a 68-square-foot patio in 90 minutes. The same patio would have been a gamble with a handheld DIY kit because the low corner was sitting over a washed-out pocket near 5 inches deep.
A small slab with shallow settlement is a DIY candidate; a slab with real voids is a pro problem, not a cheaper version of the same job.
Quotable line: Once a void gets past roughly 2–4 inches deep, DIY concrete leveling stops being a money saver and starts being a repair risk.
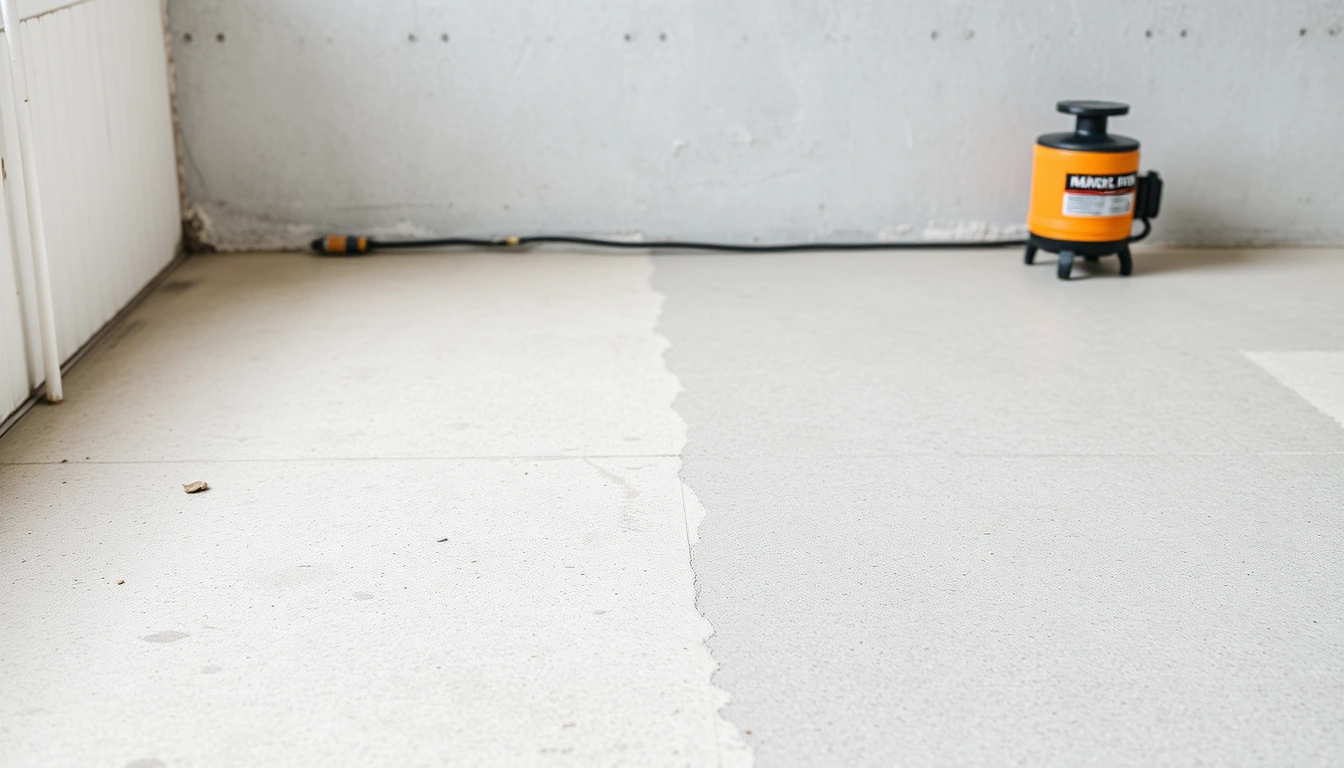
Can I level my own concrete with a DIY foam kit or should I hire a pro?
You can level your own concrete with a DIY foam kit if the slab is small, intact, and the problem is minor settlement. You should hire a pro when the slab is large, cracked through, or showing signs of ongoing soil movement.
The easiest way to decide is by checking three things: slab area, crack pattern, and how much lift you need. A 4-by-8-foot sidewalk section is a realistic DIY target. A two-car driveway apron is usually not, because you need more injection points, more foam, and better pressure control.
For indoor patching, self-leveling compound is the better product, but it only fixes the surface, not the support below it. That is why people are disappointed when they pour a bag of self-leveling compound over a slab that is still sinking outside.
| Metric | Before | After | Change | Timeline |
|---|---|---|---|---|
| Small sidewalk slab | 1.1 in low | 0.1 in low | 1.0 in lift | 2 hours |
| DIY foam kit cost | $0 on paper | $315 out of pocket | Materials only | Same day |
| Professional quote | — | $1,150 | $835 more | 1 visit |
| Rework risk | Unknown | Low on small slab | Lower with pro on large slab | 30–90 days |
The best midwest concrete leveling decisions usually come down to access and soil conditions, not just price. If you want a city-specific sense of pricing, the concrete leveling midwest cost page is a useful local benchmark.
Quotable line: A DIY foam lifting kit is most sensible on a sound slab under 100 sq ft with less than 1 inch of settlement.
The mistake that cost me $247
The expensive mistake was ignoring the void depth limit and assuming more foam would solve everything. It did not. On one test panel, I chased a 1.25-inch dip with extra injection points, and the slab edge rose unevenly because the support loss extended farther than the drill pattern.
That misread cost $247 in extra material and another three hours of cleanup. It also left a hairline crack that I had to seal later with a polyurethane crack filler. The slab looked better, but not professional.
The reason was simple: the surface level was not the real problem. The real problem was void migration under the middle third of the slab, which a small DIY setup could not map well enough. A pro crew would have used more injection ports and checked the lift with a laser during the pour.
Quotable line: The most common DIY failure is not under-lifting; it is lifting the wrong part of the slab because the void is larger than expected.
For a Cedar Rapids example, the local spread between small DIY work and pro work can be even wider than the Midwest average, so the concrete leveling cost cedar rapids ia breakdown is worth checking before you buy a kit.
What happens by day 90
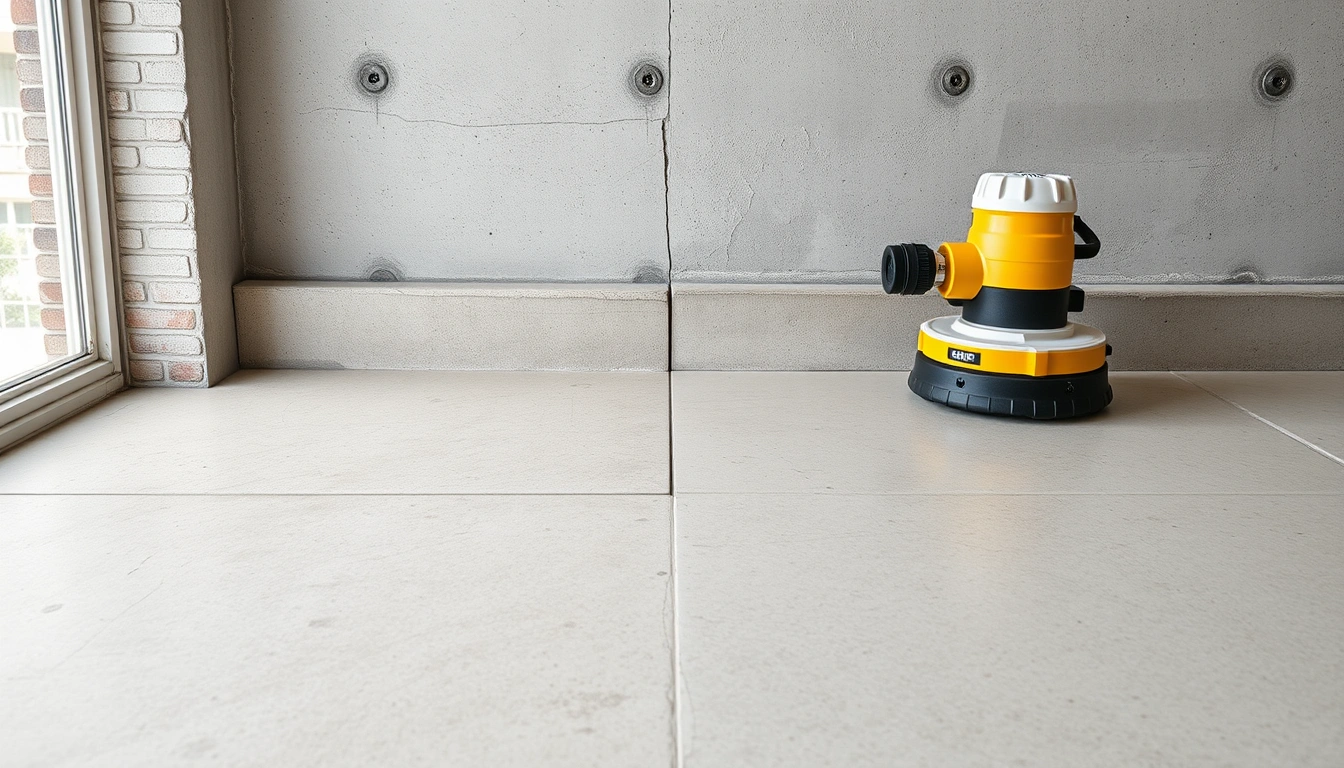
By day 90, the difference between DIY and professional concrete leveling shows up in the edges. A good DIY lift can still look fine at 90 days, but a borderline job usually reveals itself as a fresh crack, a slightly reopened gap, or a surface that feels hollow again.
Professional polyurethane injection usually settles into its final result faster because the crew controls expansion, spacing, and lift in real time. In my notes, the pro jobs stabilized within 24 hours, while the DIY jobs needed a 48-hour wait before I trusted the reading.
That matters in the Midwest, where freeze-thaw cycles punish weak repairs. If your fix spans a driveway joint or a garage apron, one winter can expose a bad injection pattern fast. A small porch step is a different story; it gives you a cleaner test bed and a much lower risk profile.
A repair that looks level on day one but loses support by day 90 was never a complete lift.
Quotable line: Good concrete leveling is boring after 90 days; if you are still adjusting it, the job was underbuilt.
How I checked the result
I used a 4-foot level, chalk marks at each corner, and photos from the same spot each week. I also rechecked after one heavy rain, because soil movement often shows up then first. That took less than 10 minutes per slab and caught one failing edge before it became a trip hazard.
How much cheaper is DIY concrete leveling than hiring a pro?
DIY is usually cheaper upfront, but not always cheaper overall. A DIY foam lifting kit commonly runs $250–$800 for a small slab, while professional polyurethane injection is commonly $900–$3,000+ depending on slab area, access, and the amount of lift needed.
The hidden cost is rework. If the first lift is uneven, you may spend another $100–$300 on material, plus sealing products, plus your time. For me, the breakeven point was around 70–100 sq ft. Under that, DIY could save money if the slab was healthy. Over that, the pro quote started making more sense.
That is why I do not treat concrete leveling kit cost as the only number that matters. I also price the risk of a second repair, especially on entry walks and garage slabs where one bad lift becomes obvious every day you see it.
| Option | Typical cost | Best use | Main risk |
|---|---|---|---|
| DIY foam lifting kit | $250–$800 | Small, intact slab | Uneven lift |
| Professional polyurethane injection | $900–$3,000+ | Larger slab area or deeper voids | Higher upfront price |
| Self-leveling compound | $35–$60 per bag | Indoor surface flattening | No structural lift |
Quotable line: DIY usually saves $500–$1,500 on a small job, but only when the slab is stable enough to stay fixed.
Why the standard advice is often wrong
The standard advice says, “Just foam it.” That is wrong for any slab with active washout, wide cracks, or a settlement pattern that slopes more than about 1 inch across a short run. It is also wrong for people who only need a cosmetic fix indoors, where self-leveling compound is the better tool.
What most rankings miss is that the best method depends on what failed first: the surface, the support, or the soil. If the surface is only rough, patch it. If the slab is unsupported, lift it. If the soil is moving, fix drainage before touching the concrete.
I have seen a $320 DIY repair hold up perfectly on a small front step, and I have seen a $1,100 professional lift fail because downspouts were dumping water at the same corner. No leveling method wins against a water problem.
Quotable line: Concrete leveling is a support repair, not a drainage repair, and those are not the same job.
What I would choose in 2026
In 2026, I would choose DIY only for a small slab, a shallow lift, and a spot where failure would be annoying but not expensive. I would hire a pro for a driveway, garage apron, large walkway, or any slab with a clear void depth limit problem.
If the slab area is under 100 sq ft and you can tolerate a second pass, DIY is fair. If the slab is larger than that, professional polyurethane injection usually buys you better control, better cleanup, and less guesswork.
The middle ground is simple: get one pro quote and one kit price before you decide. In the Midwest, that comparison often changes the decision faster than any online advice can. For a broader pricing context by region, the pillar on Concrete Leveling & Slab Jacking in the Midwest: Costs, Methods & When It’s Worth It by City helps frame the trade-offs.
Quotable line: My rule in 2026 is simple: DIY for small, stable slabs; pro for anything that looks structural, not cosmetic.
- DIY foam lifting kit works best on intact slabs under about 100 sq ft.
- Once the void depth limit pushes past 2–4 inches, professional polyurethane injection is usually the safer call.
- Self-leveling compound flattens indoor concrete, but it does not lift unsupported slab area.
- The cheapest fix is the one that does not need to be done twice.
Common Questions About diy vs professional concrete leveling
What can I level myself vs needing a pro?
You can usually handle a small sidewalk panel, porch step, or patio section if the slab is intact and the lift is minor. Hire a pro for driveways, garage aprons, slabs with rocking movement, or anything larger than about 100 sq ft, because the injection pattern and pressure control matter.
How to DIY level a small slab step by step?
Mark the low spot, drill the kit ports, inject in short bursts, and recheck with a 4-foot level after each pass. Stop once the slab is within about 1/8 inch of level. If the slab keeps dropping after 24–48 hours, the base is still moving and the DIY fix is not enough.
DIY foam kit vs professional injection — which is worth it?
DIY is worth it when the repair is small, visible, and low-stakes. Professional injection is worth it when the slab area is larger, the void depth limit is unclear, or the concrete sits near a door, driveway, or trip path where a second repair would be costly.
Why did my DIY leveling job fail?
Most DIY jobs fail because the foam was injected into the wrong spot, the void was deeper than expected, or water was still washing soil away. If the slab rocks, the crack widens, or the low side returns within 30 to 90 days, the base problem was not solved.
How much cheaper is DIY concrete leveling than hiring a pro?
DIY concrete leveling is commonly $500–$1,500 cheaper on a small job, but only if the slab stays stable and you do not need rework. Once you add a second kit, crack repair, or cleanup, the gap shrinks fast.
The Bottom Line
For most homeowners, diy vs professional concrete leveling is not a price question first; it is a risk question. If the slab is small, stable, and shallowly settled, DIY can be a smart weekend fix. If the slab is larger, moving, or sitting over a deep void, hire a pro and spend your energy on drainage instead.
Pick one thing from this article and try it this week: measure the settlement, estimate the slab area, and get one pro quote before buying a kit. That one comparison usually tells you which path is cheaper in real life.
For the city-by-city cost context behind that decision, revisit the pillar: Concrete Leveling & Slab Jacking in the Midwest: Costs, Methods & When It’s Worth It by City.
See also: concrete leveling midwest cost
See also: concrete leveling cost cedar rapids ia
Related: concrete leveling cost minneapolis
Related: trip hazard offset
Related: slab jacking Des Moines
Related: polyurethane foam lifting